


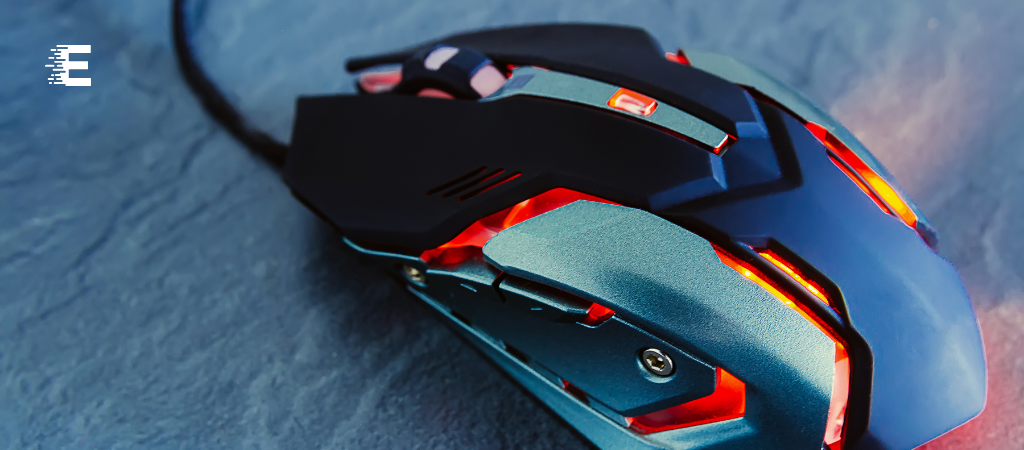
Setting up your Logitech mouse properly ensures smooth and efficient navigation on your computer. Whether you’re a gamer, a professional, or a casual user, configuring your Logitech mouse optimally can enhance your overall computing experience. How Do I Setup My Logitech Mouse?
This comprehensive guide will walk you through the step-by-step process of setting up your Logitech mouse, from unboxing to customization options, ensuring you get the most out of your device.
Unboxing Your Logitech Mouse
Upon receiving your Logitech mouse, the first step is unboxing it carefully. Logitech mice are usually packaged securely to prevent any damage during transit. Once you’ve opened the box, you’ll typically find the following items:
- Logitech mouse
- USB receiver (for wireless mice)
- Batteries (for wireless mice)
- User manual and documentation
Take out all the components and ensure that everything is included as per the packaging. Now, let’s move on to the setup process.
Connecting Your Logitech Mouse
Wired Mouse Setup
If you have a wired Logitech mouse, the setup process is relatively straightforward:
-
Plug and Play
Simply connect the USB cable of your mouse to an available USB port on your computer.
-
Driver Installation (if required)
In most cases, Windows or macOS will automatically detect and install the necessary drivers for your Logitech mouse. However, if your operating system prompts you to install drivers, follow the on-screen instructions.
Wireless Mouse Setup
Setting up a wireless Logitech mouse involves a few additional steps:
-
Insert Batteries
If your Logitech mouse uses batteries, insert them into the designated compartment. Ensure that you align the positive (+) and negative (-) ends correctly.
-
Connect the USB Receiver
Plug the USB receiver into an available USB port on your computer. Some Logitech mice come with a unifying receiver that can connect multiple devices simultaneously.
-
Pairing (if required)
For some wireless Logitech mice, you may need to pair the mouse with the USB receiver. This process is usually automatic but refer to your user manual for specific instructions if needed.
-
Driver Installation (if required)
Similar to wired mice, ensure that the necessary drivers are installed on your computer. If prompted, follow the on-screen instructions to complete the installation.
Once your Logitech mouse is connected and recognized by your computer, you’re ready to proceed with customization options.
Customizing Your Logitech Mouse Settings
Logitech provides users with a range of customization options to tailor their mouse experience according to their preferences. These settings can be adjusted using Logitech’s proprietary software, such as Logitech Options (for general use) or Logitech G Hub (for gaming mice).
Logitech Options (for General Use Mice)
-
Download and Install
Visit the Logitech website to download and install Logitech Options software compatible with your operating system.
-
Open Logitech Options
Once installed, open the Logitech Options software. Your connected Logitech mouse should appear in the application interface.
-
Customization Options
Logitech Options allows you to customize various settings such as pointer speed, scroll direction, button assignments, and gesture controls. Explore the different tabs and adjust settings according to your preferences.
-
Profile Management
Logitech Options also supports profile management, allowing you to create and switch between different configurations for different tasks or applications.
Logitech G Hub (for Gaming Mice)
-
Download and Install
If you own a Logitech gaming mouse, download and install Logitech G Hub from the Logitech website.
-
Open Logitech G Hub
Launch the G Hub software and sign in to your Logitech account if prompted. Your gaming mouse should be automatically detected.
-
Customization Options
Logitech G Hub offers extensive customization options tailored for gaming. You can adjust DPI settings, lighting effects, button macros, and create custom profiles for different games.
-
Sync Settings Across Devices
If you have multiple Logitech gaming devices, G Hub allows you to synchronize settings across all devices for a consistent gaming experience.
You Might Be Interested In
- How To Change Logitech Mouse Dpi?
- Is Firefox Faster Than Chrome?
- What Is The Difference Between Virus and Antivirus?
- Which Is The No 1 Video Editing App For Youtube?
- What Does 1 Million Views On Youtube Pay?
Conclusion
In conclusion, setting up your Logitech mouse is a straightforward process that involves unboxing, connecting, and customizing settings according to your preferences. Whether you have a wired or wireless Logitech mouse, the setup process can be completed within minutes.
By leveraging Logitech’s software tools such as Logitech Options or Logitech G Hub, you can further enhance your mouse experience with personalized settings and profiles. So, go ahead and setup your Logitech mouse today to enjoy seamless navigation and gaming!
FAQs about Logitech Mouse
Do I need to install drivers for my Logitech mouse?
For most Logitech mice, especially those designed for general use, drivers are automatically installed by the operating system upon connection. However, for optimal customization options and advanced features, it’s recommended to install Logitech’s proprietary software like Logitech Options or Logitech G Hub.
These software packages provide additional functionality such as button remapping, gesture controls, and profile management, enhancing your overall experience with your Logitech mouse.
Can I use my Logitech mouse on multiple devices?
Yes, Logitech mice with unifying receivers or Bluetooth connectivity can be paired with multiple devices, including computers, laptops, and even tablets. Logitech’s software allows you to switch between paired devices seamlessly with just a few clicks, making it convenient for users who work across different platforms. Whether you’re transitioning from your desktop computer to your laptop or switching between work and personal devices, Logitech mice offer versatility and ease of use.
How do I adjust the DPI settings on my Logitech gaming mouse?
If you own a Logitech gaming mouse, adjusting the DPI (dots per inch) settings is essential for optimizing your gaming experience. DPI settings control the sensitivity of the mouse cursor, allowing for precise movements in games. To adjust DPI settings, simply open Logitech G Hub software, which is specifically designed for Logitech gaming peripherals.
Within the software interface, navigate to the DPI settings section, where you can customize DPI levels according to your preferences. Higher DPI settings result in faster cursor movements, ideal for fast-paced gaming, while lower DPI settings offer more precision for tasks requiring accuracy.
Can I customize the buttons on my Logitech mouse?
Yes, both general use and gaming Logitech mice offer extensive button customization options to suit your specific needs and preferences. Logitech Options and Logitech G Hub software allow you to remap buttons, assign macros, and create custom shortcuts tailored to your workflow or gaming style.
Whether you want to assign commonly used functions to mouse buttons for productivity or program complex macros for gaming, Logitech’s software provides intuitive tools for button customization. With the ability to personalize button configurations, you can streamline tasks, improve efficiency, and gain a competitive edge in gaming.
How do I ensure optimal battery life for my wireless Logitech mouse?
Maximizing battery life for your wireless Logitech mouse is crucial for uninterrupted use and prolonged usability. To achieve optimal battery life, consider using rechargeable batteries or investing in a Logitech mouse with a built-in rechargeable battery.
Additionally, adjusting the mouse’s sleep settings through Logitech’s software can help conserve power when the mouse is not in use, automatically putting the mouse into a low-power state after a period of inactivity. Regularly checking and replacing batteries as needed ensures that your wireless Logitech mouse remains powered and ready for use whenever you need it, minimizing downtime and maximizing productivity.
