


In the vast digital landscape, your photographs are more than just images; they are your creative expressions, your brand identity, and your intellectual property. As you share your work online, it’s crucial to protect it from unauthorized use. One effective way to do this is by adding a watermark to your photos. But how do you seamlessly integrate a watermark into your images without compromising their aesthetic appeal? How To Add Watermark In Luminar Ai?
Enter Luminar AI, a powerful photo editing software that combines artificial intelligence with intuitive design. Whether you’re a professional photographer or an enthusiast, Luminar AI offers tools that make the watermarking process straightforward and efficient.
In this comprehensive guide, we’ll walk you through the steps to add a watermark in Luminar AI, ensuring your images remain protected and your brand identity stands out.
Understanding Watermarks
A watermark serves as a digital signature on your photos, indicating ownership and discouraging unauthorized use. There are two primary types of watermarks:
-
Text Watermarks
These are typographic overlays, often featuring your name, brand, or website URL.
-
Image Watermarks
These include logos, signatures, or any graphic element that represents your brand.
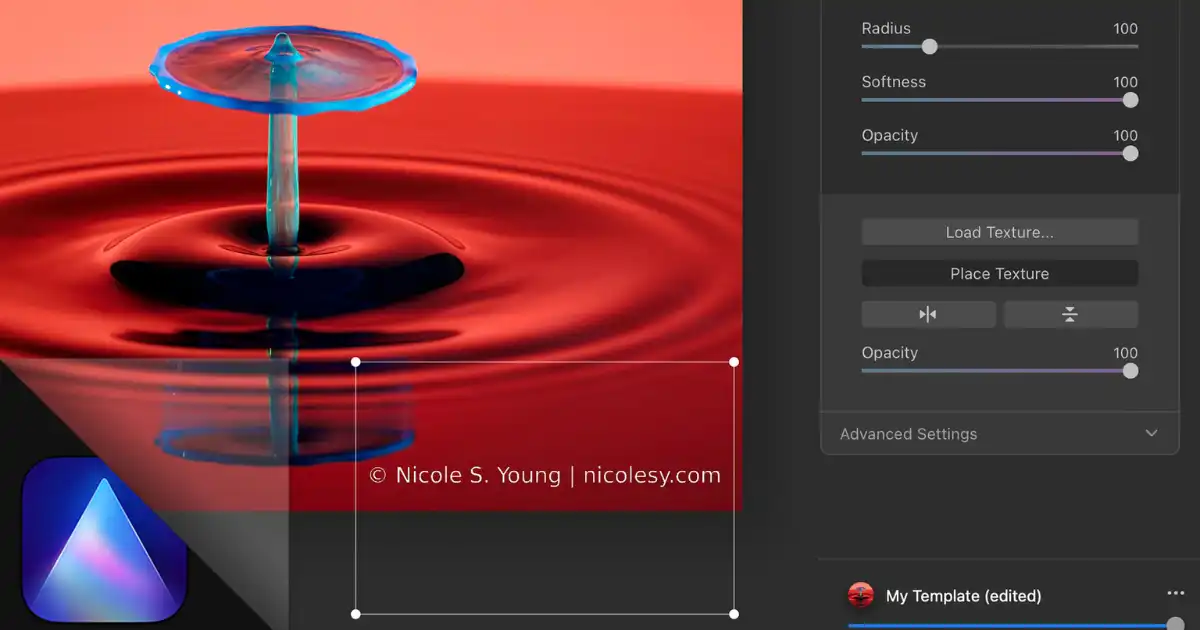
In Luminar AI, both types can be added using the Texture Tool in the Local Masking panel. This tool allows you to overlay your watermark onto your image with precision and ease.
Preparing Your Watermark
Before diving into Luminar AI, ensure you have your watermark ready:
-
Designing a Text Watermark:
-
Use graphic design software like Adobe Photoshop, GIMP, or online tools such as Photopea.
-
Create your watermark on a transparent background.
-
Save the file in PNG format to preserve transparency.
-
-
Creating an Image Watermark:
-
If you have a physical signature, sign on a white sheet of paper and scan it.
-
Alternatively, design a logo using design software.
-
Save the final design as a PNG file with a transparent background.
-
Having your watermark in PNG format is essential, as it supports transparency, allowing your watermark to blend seamlessly with your images.
Adding a Watermark in Luminar AI
Now that your watermark is ready, let’s integrate it into your photo using Luminar AI.
Using the Texture Tool
-
Open Your Image:
-
Launch Luminar AI and import the photo you wish to watermark.
-
-
Access the Edit Panel:
-
Navigate to the Edit tab located at the top of the interface.
-
-
Select Local Masking:
-
In the right-hand panel, click on Local Masking to expand the options.
-
-
Add a Texture:
-
Click the “+” button and choose Texture from the dropdown menu.
-
A new panel will appear where you can load your watermark.
-
-
Load Your Watermark:
-
Click on Load Texture and select your prepared watermark file (PNG format).
-
The watermark will automatically appear on your image.
-
Adjusting Watermark Position and Size
-
Activate the Placement Tool:
-
Click on Place Texture to enable the placement mode.
-
-
Resize the Watermark:
-
Drag the corners of the watermark to resize it proportionally.
-
Hold the Shift key while resizing to maintain the aspect ratio.
-
-
Position the Watermark:
-
Click and drag the watermark to your desired location on the image.
-
Common placements include the bottom-right or bottom-left corners, but choose a position that complements your photo’s composition.
-
Fine-Tuning Opacity and Blend Modes
-
Adjust Opacity:
-
In the Texture panel, locate the Opacity slider.
-
Reduce the opacity to make the watermark semi-transparent, ensuring it doesn’t overpower the image.
-
-
Experiment with Blend Modes:
-
Click on the Blend dropdown menu.
-
Test different blend modes like Multiply, Screen, or Overlay to see which one integrates best with your image.
-
By fine-tuning these settings, you can create a watermark that protects your work without detracting from its visual appeal.
Saving Your Watermarked Image
Once you’re satisfied with the watermark’s appearance:
-
Apply the Changes:
-
Click Apply to finalize the watermark placement.
-
-
Export the Image:
-
Navigate to File > Export.
-
Choose your desired file format (JPEG, PNG, TIFF) and export settings.
-
Save the watermarked image to your preferred location.
-
Batch Processing Watermarks
If you have multiple images to watermark, Luminar AI’s batch processing feature can save you time:
-
Select Multiple Images:
-
In the Catalog panel, hold down the Ctrl (Windows) or Cmd (Mac) key and click on the images you want to watermark.
-
-
Apply the Watermark:
-
Follow the steps outlined in the “Adding a Watermark in Luminar AI” section for one image.
-
Luminar AI will apply the watermark to all selected images simultaneously.
-
-
Export the Watermarked Images:
-
After applying the watermark, export all images as described earlier.
-
Batch processing ensures consistency across your photos and streamlines your workflow.
Best Practices for Watermarking
To ensure your watermark serves its purpose without compromising your image’s quality:
-
Placement
Position your watermark where it doesn’t obscure key elements of your photo.
-
Opacity
Set an opacity level that makes the watermark visible but not distracting.
-
Size
Keep the watermark proportionate to the image size; too large can be intrusive, too small may be ineffective.
-
Design
Ensure your watermark is legible and aligns with your brand identity.
By adhering to these best practices, you can protect your work while maintaining its visual integrity.
You Might Be Interested In
- Why Ai In Military Use Regulations Are Needed?
- What Is Generative Ai? Simple Explanation For Non-tech Readers
- What Are Two Characteristics Of Ram On A Cisco Device?
- How Does Cloud Data Infrastructure Support Ai?
- How To Identify Supervised Learning?
- How To Make Autonomous Ai Chat Bots?
- Ai Note-taking Apps Compared: Notion Ai Vs Otter Vs Others
- How Ai Data Privacy Laws Protect Users?
- Best 5 Digital-only Banks Powered Entirely By Ai
- Why Is Python Used For Machine Learning?
Conclusion
Adding a watermark in Luminar AI is a straightforward process that enhances the protection of your digital creations. By following the steps outlined in this guide, you can seamlessly integrate a watermark into your photos, safeguarding your work from unauthorized use.
Remember, your photographs are a reflection of your creativity and effort. Protecting them with a watermark not only asserts your ownership but also promotes your brand identity. With Luminar AI’s intuitive tools and features, watermarking becomes an effortless part of your photo editing workflow.
Now that you have the knowledge to add watermarks to your images, go ahead and start protecting your work. Your creativity deserves to be recognized and safeguarded.
FAQs about Add Watermark
How do I add a watermark in AI?
Adding a watermark in AI is quite simple and helps protect your images or designs from being used without permission. Usually, you start by opening your project in the AI tool you are using, like Luminar AI or other photo editors. Then, you create a text or logo element that you want to use as your watermark. Position it where you want on your image, often in a corner or somewhere it doesn’t distract from the main content. You can also adjust the transparency so it looks subtle but still visible. Once you are satisfied, save or export your image with the watermark included. This process makes sure your work remains recognizable and protected.
How do I insert a watermark?
To insert a watermark, open your image editing software and select the option to add text or a logo. Most programs allow you to type your name, brand, or upload a small image as your watermark. You can then move it around, resize it, or adjust its transparency so it doesn’t overpower your image. Many tools also let you save your watermark settings so you can apply them to multiple images at once. By inserting a watermark, you make it easy for viewers to know who created the work, and it discourages unauthorized use.
Can I watermark an AI image?
Yes, you can watermark an AI image just like any other digital image. Once your AI-generated image is ready, open it in an editor that supports adding text or logos. Create your watermark, place it carefully on the image, and adjust the transparency so it doesn’t block the main content. Watermarking AI images is especially important if you plan to share them online or use them commercially, as it protects your creative rights and helps others identify your work as the original.
How to remove background in Luminar AI?
Removing the background in Luminar AI is a useful way to make your images cleaner or prepare them for editing. First, open your image in Luminar AI and choose the tool that lets you select or mask parts of your picture. Carefully select the subject you want to keep and remove everything else around it. The software will automatically detect the background and erase it, leaving a transparent or plain background depending on your settings. After this, you can save the image in a format that supports transparency, like PNG, for easy use in other projects.
How to add transparent background in AI?
Adding a transparent background in AI is helpful when you want to place your subject on different backgrounds or use it in designs. Start by opening your image in an AI editing tool that supports transparency. Use the background removal or masking feature to select the area you want to keep while removing the rest. Once the background is removed, make sure to save your image in a format that supports transparency, such as PNG. This allows you to use the image in presentations, websites, or other designs without any unwanted background interfering.
